|
How to Achieve Multiple Layers:
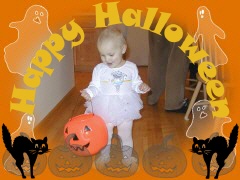
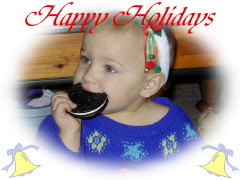
To achieve multiple layers of masks, like those shown above, you simply need to select a Mask and Color and then click the KEEP button. Then, you may change catagories if you like, select a new Mask and Color and click the KEEP button again. Continue this process as many times as you like. When Ready, click Apply and Exit You can also click the RESET to return to the original photo. Working with the Colored Masks: Some of the masks provided are colorful. These masks can either appear Transparent or Solid depending on how you use them. Look at the two pictures below for an example: 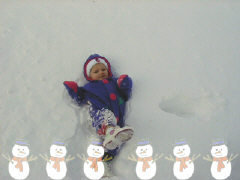 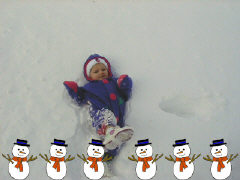
As you can see, the snowmen on the left appear Transparent and on the Right, Solid. To achieve the Transparent appearance, simple apply the mask and Select the Color WHITE for the mask color. To Achieve the Solid appearance, you must apply the mask to a dark background. However, in the example above, the picture is mostly White with Snow! SO, look for the following mask to apply FIRST: 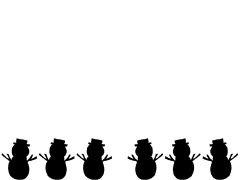
Some of the colorful masks come with a BLACK silhouette mask, like that shown above.
Some of the Colored Masks do not have a silhouette partner: - This is easily solved by doing the following:
When a Mask is applied, it merges and mixes the mask colors to the photos colors. If the Photo is mostly WHITE, the mask will appear transparent. If the photo is mostly BLACK, then the mask appears solid. Making your own Masks: Masks are easy to make on your own. Read the PhotoELF HELP section labeled: " MASKS " to learn how. There are step by step instructions If you have made some nice masks and wish to share them, we will post them on the website for others to download. Contact Us if you wish to submit your masks. Final Note about Masks: If you find that you have too many masks that you will never use, or want to clean up your hard drive, you may remove or re-organize your masks very easily. Simply use PhotoELF's main program and navigate to the following folder: C:\Program Files\PhotoELF\Graphics\Masks Once there, you can delete masks or organize them to your liking. Masks are simple JPG or BMP images and PhotoELF will display the categories based on the sub folders found inside the " MASKS " folder. You may create your own categories by creating new folders. For more info, read PhotoELF's HELP topic: MASKS Have Fun! |