<a href="menu.shtml">Table of Contents</a>
<br>
Creating Double Exposures
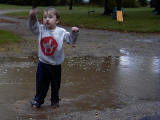 +
+
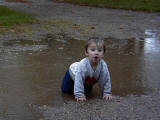 =
=
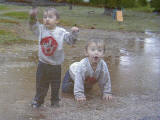
Creating a double exposure is performed in the editor.
To do this:
- First multi-select the two photos you want in PhotoELF's main program window.
- Then, click the editor button on the toolbar, to load the editor with both photos.
- Finally, look in the Fun Stuff menu in the editor
- Select: Double Expose 2 Photos in Temporary Capture
Doing this will merge the two photos together, as in the example above.
Double Exposure Hints and Tricks:
- This feature will only work if the first two cells of the editor's
Temporary Capture contains photos.
- The photo in the first cell (1) will be the base image.
- The photo in the second cell (2) will be transposed on top of the base image.
- The resulting photo size will be exactly the same as the base image.
- If the top image is not the same size as the base image, it may run short or run long and be cropped off.
- The anchor point is the top left corner of the base image. And the top left corner of the second
image will anchor to the top left corner of the base image.
- You may wish to try reversing the two to achieve different results.
- You may also wish to Gamma Adjust the images to be darker before double exposing.
The darker the image, the less washed out the result will be.
- Objects that lay on top of a light background tend to wash out during this process.
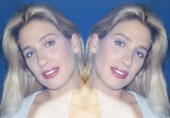
Reverse and Double Expose
|
----->
|
|
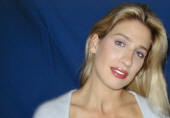
Another fun feature is the Reverse and Double Expose as in the example above.
To do this:
- Just load any photo into the editor.
- Look in the Fun Stuff menu
- Select: Reverse and Double Expose
Add Frames and Borders to your photos. See: Masks and Frames
and Photo Masks
Home
Privacy Policy
PhotoELF
Download PhotoELF
 +
+
 =
=


